
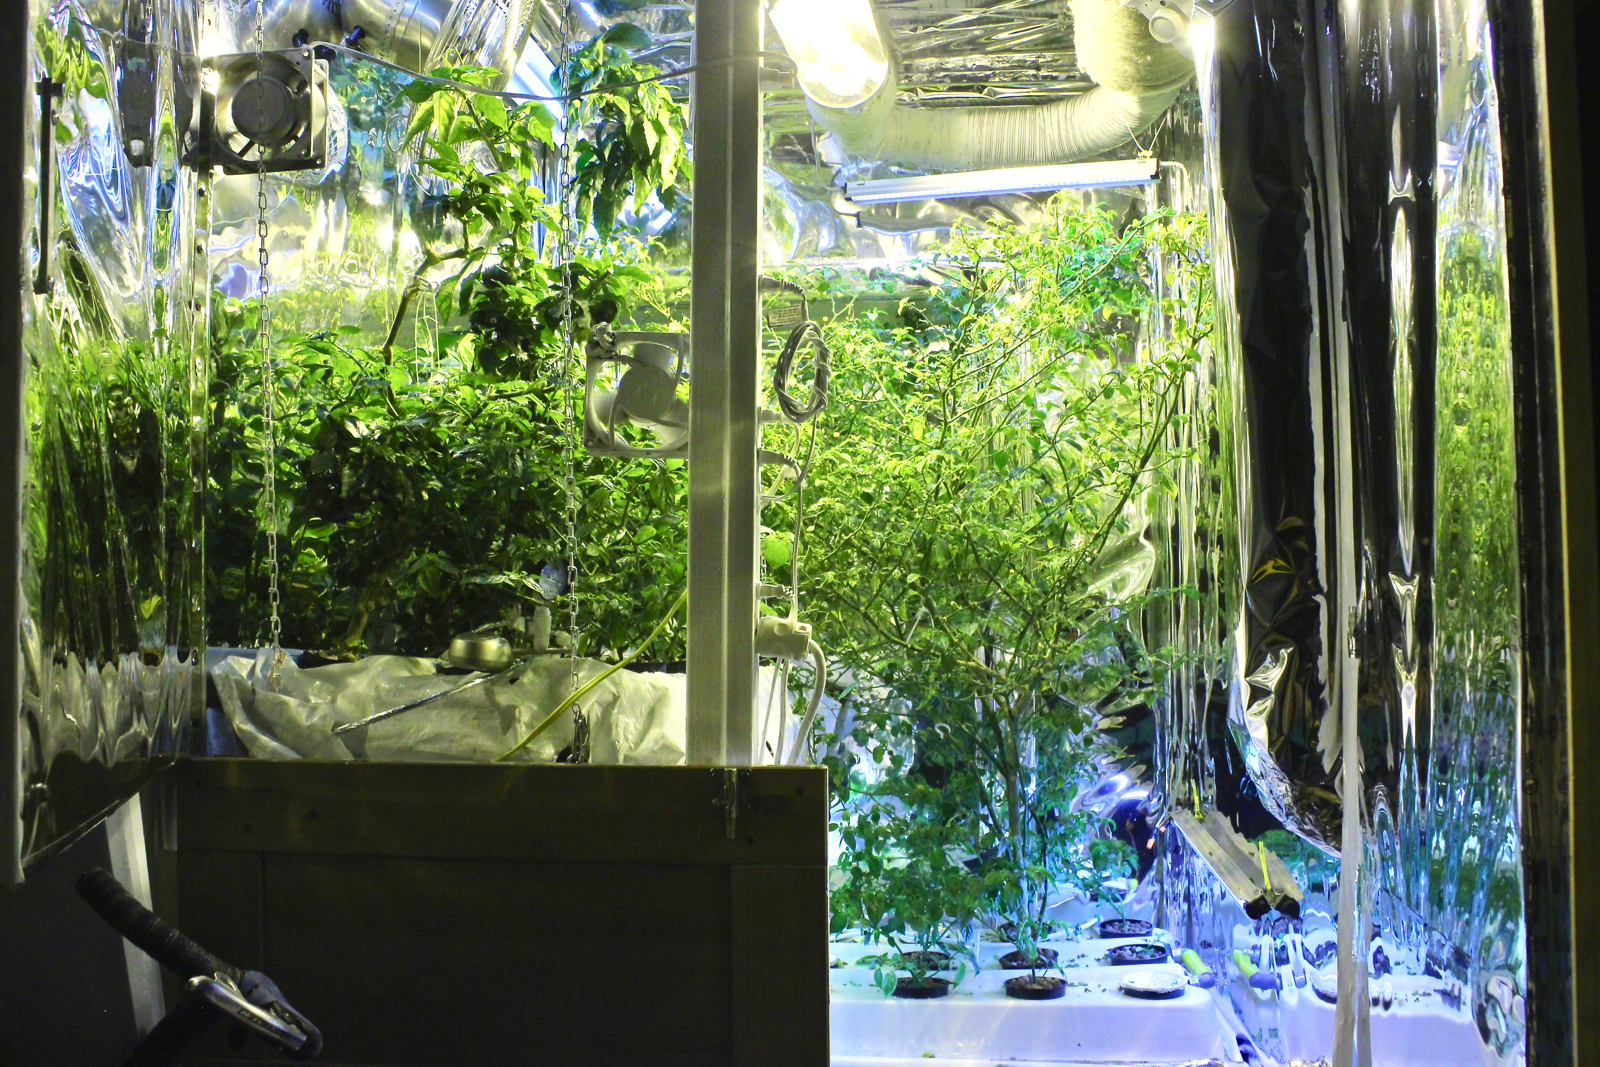
We are happy to introduce the Winter 2019 High Pressure Aeroponics (HPA) setup. We used the same 16 square foot indoor space as last year, but JF rebuilt it all from scratch making it more efficient and beautiful than ever. Here is how he made the new garden in 7 steps:
1. Prepare the space
 JF started by pulling apart what was left of the old garden to redesign it. On the walls he put a first layer of black & white plastics and a second layer of mylar papers. To avoid piercing new holes in the walls and have more flexibility with our tables, he built a wooden frame and covered it with mylar papers as well.
2. Light and Blower
 On the ceiling, he repositioned the blower and cooltube to make them both as high as possible. Last year, the blower and carbon filter were screwed to the ceiling and the cool tube attached right underneath. It was okay at first but by spring we had some peppers and beans growing above the light. Now with the wooden frame’s support, he could position everything right at the top without any holes in the ceiling. In the cooltube, we have THE 600W Hortilux Super HPS (best spectrum for flowering) and all its heat is pushed outside the garden into our apartment.
3. Bring in the tables and plants
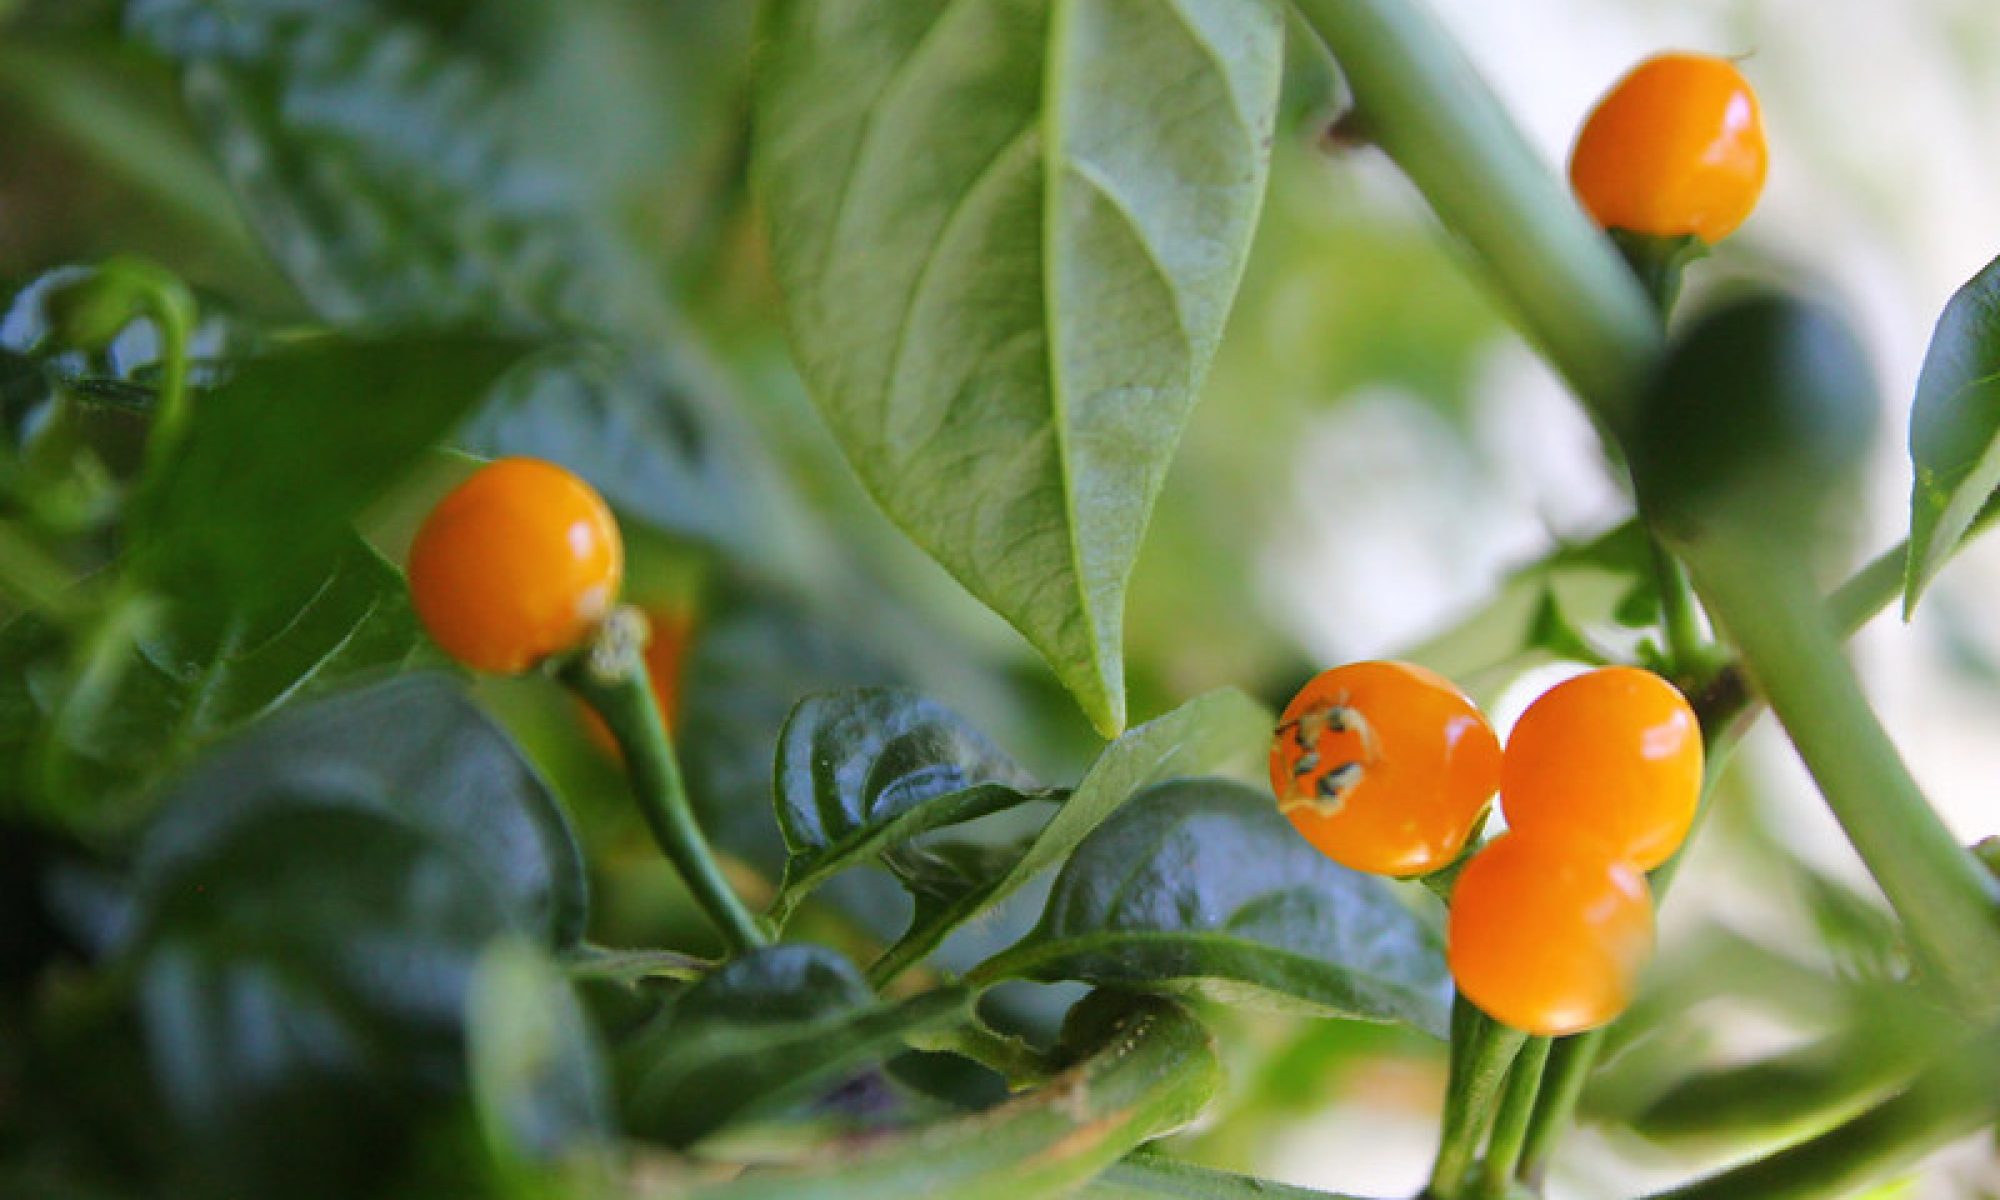
 During summer our HPA tables had been setup in a greenhouse outside. As it started freezing too quickly in the fall, we had to rush over 24-48h to bring the plants inside. So the three first steps were completed overnight and we installed an emergency reservoir before we could complete the other steps. The 6 months old Aji Charapita was at least 4 feet tall and 3 feet wide so it was quite a challenge to move it. Also, aeroponic plants having their roots hanging in the air, they usually get misted every 5-10 minutes. We had to be as fast as we could in that delicate step. The tables are now placed in L so the most mature Aji Charapita plant can get full light from a lower level than the others.
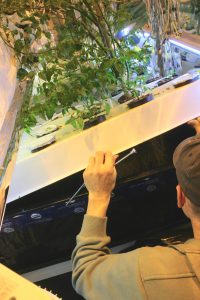
4. Door and equipments
 Last year some parts of the garden were very difficult to access, even just getting inside was a hassle especially with my pregnant belly. Now, JF had the brilliant idea to build a solid door and wood panels openable with hinges. This solves a great deal of access problems for maintenance, electrical work, cleaning, pollination and harvesting.
On the other side of the door, he installed an old Coleman cooler as a more compact and food grade reservoir. In the reservoir he put the pump intake with a custom filter, an air pump and the PH probe on a floating raft made out of PVC leftovers. Just above in a metal box, he put the Aquatec 8800 booster pump (food grade and permanent magnet high pressure pump), the CycleStat-2 timer (set to mist 5 seconds every 7 minutes) and the Milwaukee PH controller/pump injector. In the garden he installed an air pump, extra fans, Sunblaster LEDs and neons.
5. Plumbering and misters
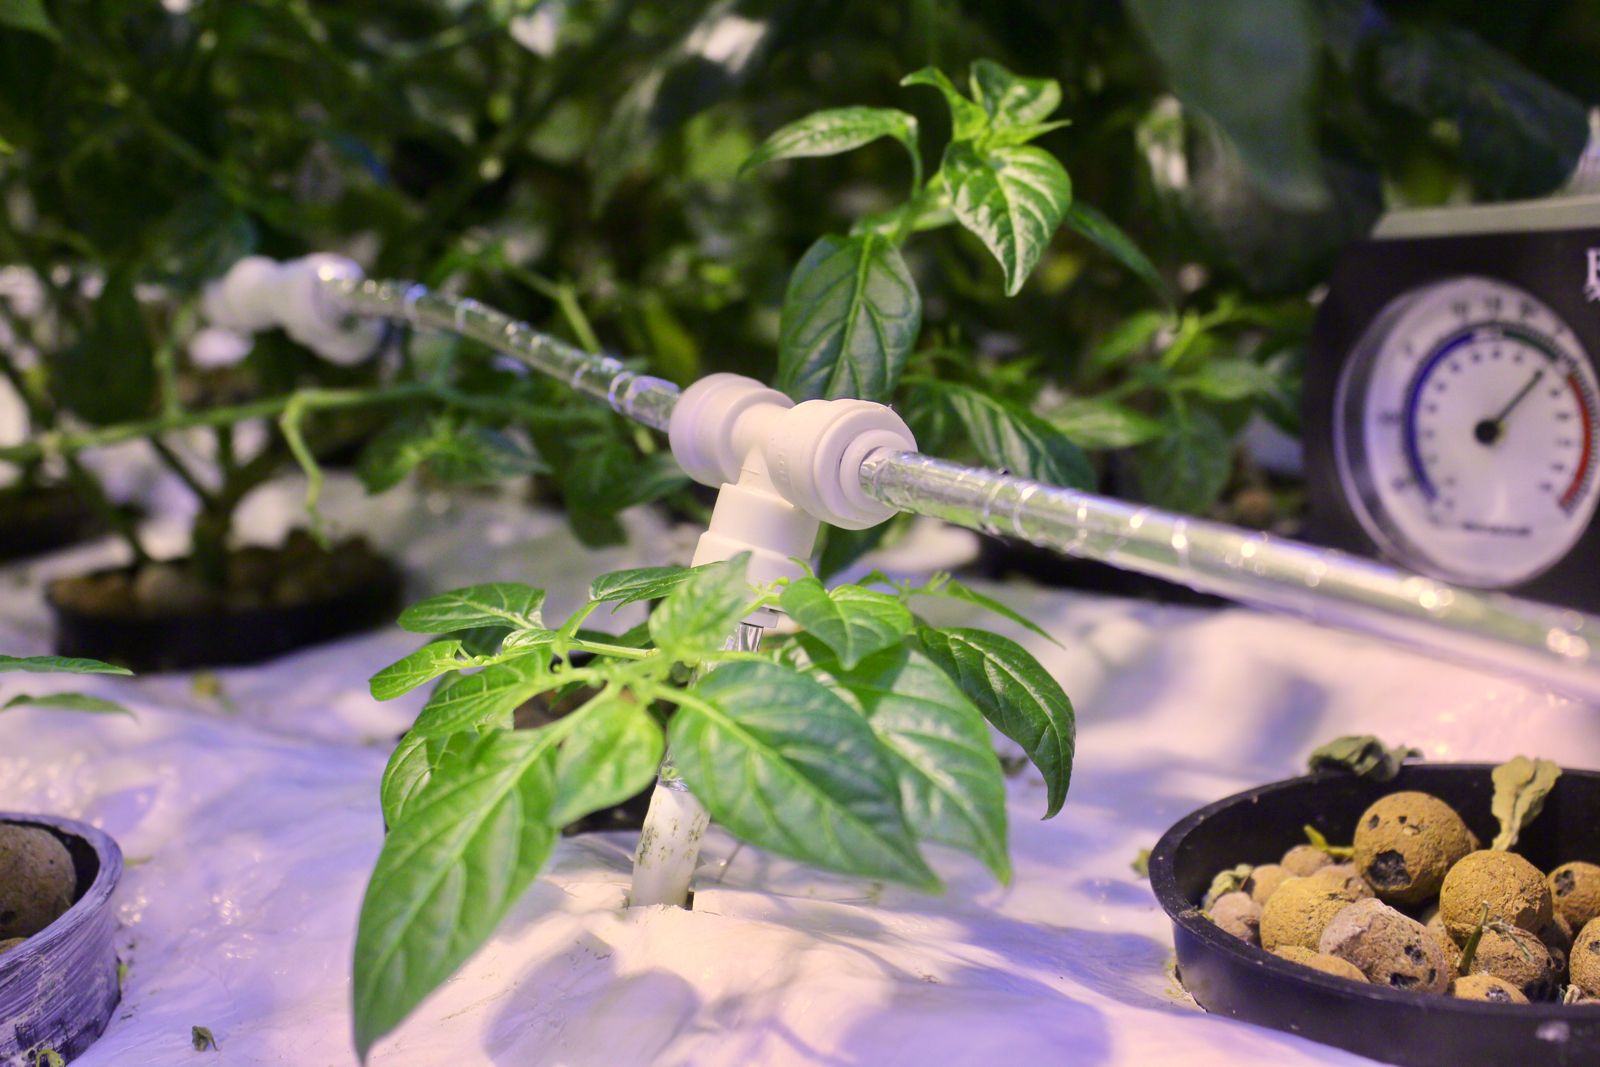 We started experimenting true High Pressure Aeroponics (HPA) in spring. On the summer setup we had Maxijet hoses rated for 125 psi and we had 55 psi pressure. But we noticed some leaks and deformations on the hose around the nozzles. It still worked but it needed tie wraps. So this time, JF built more rigid plumberings (quickconnect sharkbites) and we gained 3 psi (58 psi total) which does not sound like much but at this level it helps getting closer to the perfect mist droplets size.
We are also happy that all this R&D paid off in improving HPA technics. One of the biggest aeroponics critic is that the nozzles (also called foggers or misters) often clog. But with the technic that JF has been fine tuning for the last 8 months, NOT ANY NOZZLES has clogged even once. He recently cleaned some of them and I could take a photo of what 8 months of dirt look like while still working fine. This holds real potential for large scale Aeroponics as it could be possible to do a complete season without any maintenance on the misters.
6. Make deeper root chambers
 Our peppers plants getting more mature, the roots were lacking space in the chamber. Because the tables were 8 inches deep, when the roots grew long enough to touch the bottom they formed a thick layer that would soak in stagnant water. The plant started to behave as if it was in an hybrid Aeroponics/NFT system, thus reducing its performance. So, JF extended the table’s root chambers with foodgrade styrofoam (the blue one) to 18 inches depth. The day after the change, the Aji Charapita’s roots switched back to a white color and for the first time we saw tiny fluffy rootlets appear.
7. Put it on wheels
 The last but not least improvement of our new garden is that the whole bottom table is now on wheels. We can unfold it like a drawer allowing us to go work, harvest and do maintenance on the other side of our big plants. As for top table, its height is customable as it is hold by chains.
Conclusion
Now that all the mature plants are safe, we will be starting new seedlings. Last year, we were growing raddishes in 3 weeks and we can’t wait to see what effect HPA will have on those. Also, we still have a 4 square feet space available in there so maybe JF will come up with a new compact growing prototype.
For all of you indoor growers out there, happy season! Also if you have winter crops you want to sell check out our new partner RakeAround, an e-commerce platform for urban agriculture products.

Powered by flickr embed.